 Save
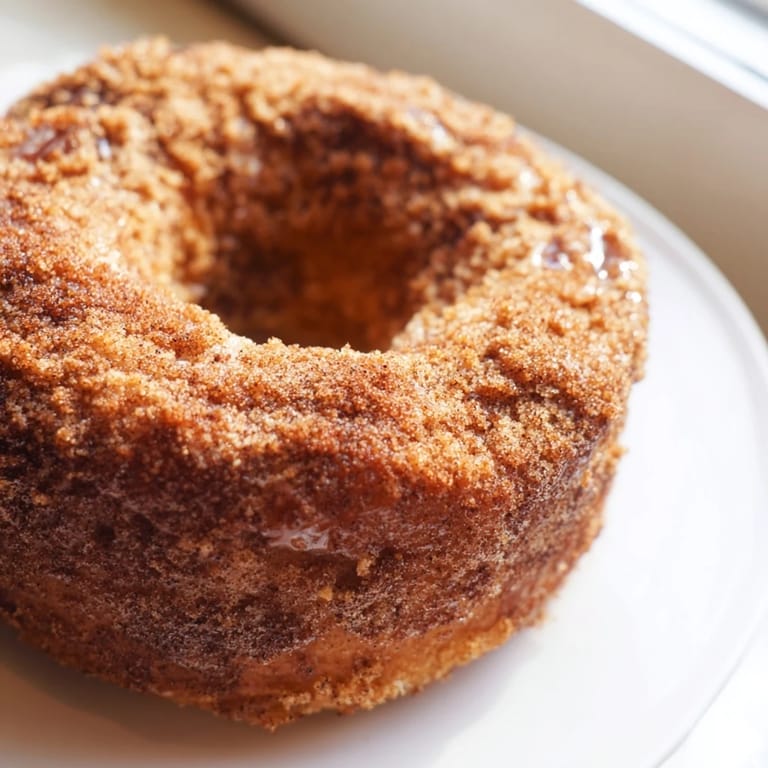
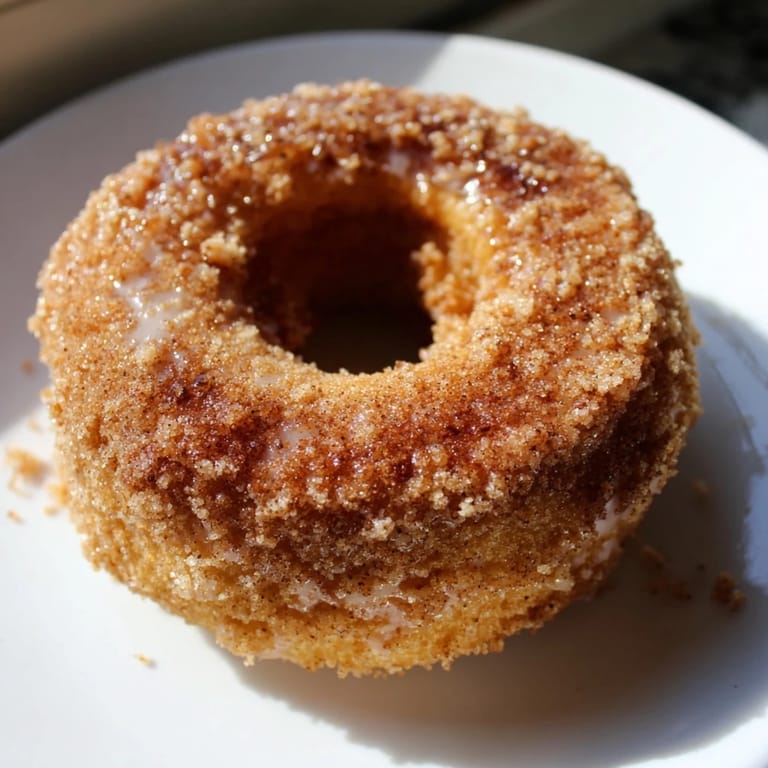
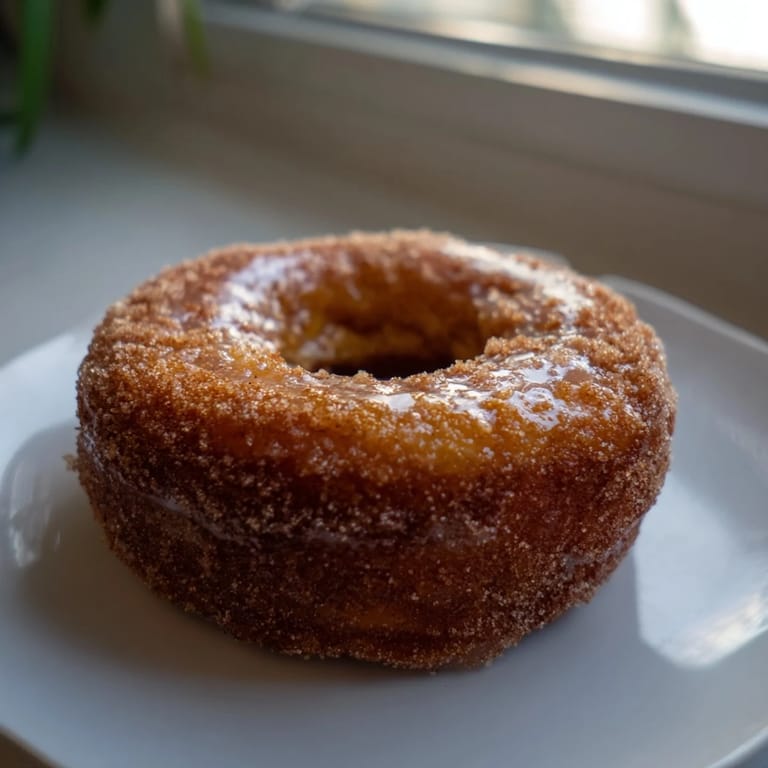
Save There's something magical about the smell of cinnamon and sugar hitting warm donuts straight from the oven—it's the kind of aroma that stops you mid-morning and makes everything else feel less urgent. I discovered these baked donuts on a lazy Sunday when I wanted something indulgent without the mess of deep frying, and they've become my go-to when friends drop by unannounced. The first batch came out so fluffy that my roommate actually paused mid-conversation to ask what I was making. They're tender, lightly sweet, and that cinnamon coating is addictive in the most honest way.
I made these for my sister's book club last month, and watching people's faces light up when they bit into one made me realize how much joy a simple homemade donut can bring. She still texts me asking when I'm making them again, which feels like the highest compliment.
Ingredients
- All-purpose flour (2 cups): This is your foundation—don't sift it unless your kitchen is unusually humid, and measure by spooning and leveling rather than scooping straight from the bag to avoid packing too much in.
- Granulated sugar (3/4 cup): Gives structure and sweetness to the batter itself, keeping the donuts from being too dense.
- Baking powder and baking soda (2 tsp and 1/2 tsp): These two work together to create that fluffy, tender crumb—too much and they'll taste metallic, too little and they'll be heavy.
- Salt (1/2 tsp): A small amount that makes the sweetness feel more balanced and authentic.
- Ground cinnamon in batter (1 tsp): Adds warmth throughout, not just on top—this is why the flavor feels so cohesive.
- Buttermilk (3/4 cup): The secret to tenderness; if you don't have it, mix regular milk with a teaspoon of vinegar and let it sit for five minutes.
- Eggs (2 large): Bind everything together and contribute to that soft, cake-like texture.
- Melted butter for batter (2 tbsp): Adds richness without making them heavy or greasy.
- Vanilla extract (1 tsp): A small touch that rounds out the flavor in a way people can't always identify but definitely notice.
- Coating sugar and cinnamon (1/2 cup sugar and 1 1/2 tsp cinnamon): The ratio matters here—too much cinnamon and it becomes bitter, too little and it tastes one-dimensional.
- Melted butter for coating (3 tbsp): Brushed on warm donuts so the sugar mixture actually sticks rather than sliding right off.
Tired of Takeout? 🥡
Get 10 meals you can make faster than delivery arrives. Seriously.
One email. No spam. Unsubscribe anytime.
Instructions
- Heat your oven and prep:
- Preheat to 375°F and grease your donut pan lightly with cooking spray or butter—a light touch is key, as too much makes the bottoms greasy. Have everything ready to go because the batter doesn't like sitting around.
- Combine the dry team:
- In a large bowl, whisk together your flour, sugar, baking powder, baking soda, salt, and cinnamon until evenly distributed. You're looking for a consistent color, no visible clumps of baking soda hiding in the corner.
- Build the wet mixture:
- In another bowl, whisk the buttermilk, eggs, melted butter, and vanilla until they're fully combined and slightly pale. This takes about a minute and ensures the eggs are fully incorporated.
- Bring it together gently:
- Pour the wet ingredients into the dry ingredients and stir just until combined—a few small lumps are fine and actually preferable to overmixing, which toughens the donuts. Stop yourself when you think you're done; that's usually the right moment.
- Fill the pan:
- Using a piping bag or a sturdy spoon, fill each donut cavity about three-quarters full—this gives them room to puff up without overflowing into the crevices. If you use a spoon, wet it slightly so the batter doesn't stick.
- Bake until golden:
- Bake for 10 to 12 minutes, watching until they're light golden around the edges and spring back when you press the top gently. Don't overbake; they continue cooking slightly as they cool.
- Cool and transfer:
- Let them sit in the pan for about three minutes so they firm up enough to move without breaking, then carefully transfer to a wire rack. This is where patience pays off—rushing this step risks splitting the donuts.
- Coat while warm:
- Mix your cinnamon and sugar in a shallow bowl, then brush each warm donut generously with melted butter and immediately dip into the coating so it adheres. The warmth is crucial; the butter acts like glue.
- Enjoy at your preference:
- Eat them warm if you can—that's when they're softest—or let them cool to room temperature for a slightly firmer texture that's still incredibly tender.
 Save
Save My neighbor once came over the morning after I'd made these and asked if I'd bought them from a bakery, which made my entire week. There's something special about food that tastes like you worked harder than you actually did.
The Magic of Baked Donuts
Baking donuts instead of frying them isn't just about health or convenience—it's about control and consistency. Your kitchen stays clean, the oil temperature never varies, and you can adjust the recipe without worrying about how fat will behave at different temperatures. I've made these with slight variations in spice levels, and they always turn out reliable, which is honestly why I keep coming back to this method.
Storage and Keeping Them Fresh
These donuts are best the day you make them, when they still have that fresh softness, but they actually keep surprisingly well in an airtight container for up to two days. If you want to revive them, a quick 10-second microwave blast brings back some of that warm-from-the-oven texture without making them rubbery. I once wrapped some individually in plastic wrap and froze them for a week, then thawed them in the morning—not quite as good as fresh, but still better than most store-bought versions.
Simple Variations to Try
This basic recipe is flexible and forgiving, which is why I find myself tinkering with it whenever I have an idea. You could add a pinch of nutmeg or cardamom to the coating for warmth, or try maple cinnamon sugar instead of plain if you want something deeper. Some mornings I brush them with a thin maple glaze instead of coating, and other times I make a honey butter to drizzle over top—the foundation is so solid that you can layer on whatever suits your mood.
- A tiny pinch of nutmeg in both the batter and coating adds unexpected warmth without announcing itself loudly.
- Brush with melted butter and coat immediately for maximum stickiness—every second matters before the butter cools.
- Make a double batch and freeze the uncoated donuts in a freezer bag; they thaw beautifully and you can fresh-coat them anytime.
 Save
Save Homemade donuts taught me that simplicity done well beats complexity every time. Make these when you want to feel like a baker without the stress.
Questions & Answers
- → What type of pan is best for baking these donuts?
A standard donut pan ensures even baking and helps create the classic donut shape with hollow centers.
- → Can I substitute buttermilk in this dish?
Yes, you can replace buttermilk with regular milk mixed with a teaspoon of vinegar to achieve similar tanginess.
- → How do I get the cinnamon-sugar coating to stick well?
Brushing warm donuts with melted butter before dipping them into the cinnamon-sugar mixture helps the coating adhere evenly.
- → Is it possible to make a dairy-free version?
Certainly, substitute plant-based milk and margarine to avoid dairy while maintaining moisture and flavor.
- → How should leftover donuts be stored?
Store them in an airtight container at room temperature if consumed within two days to preserve softness.