 Save
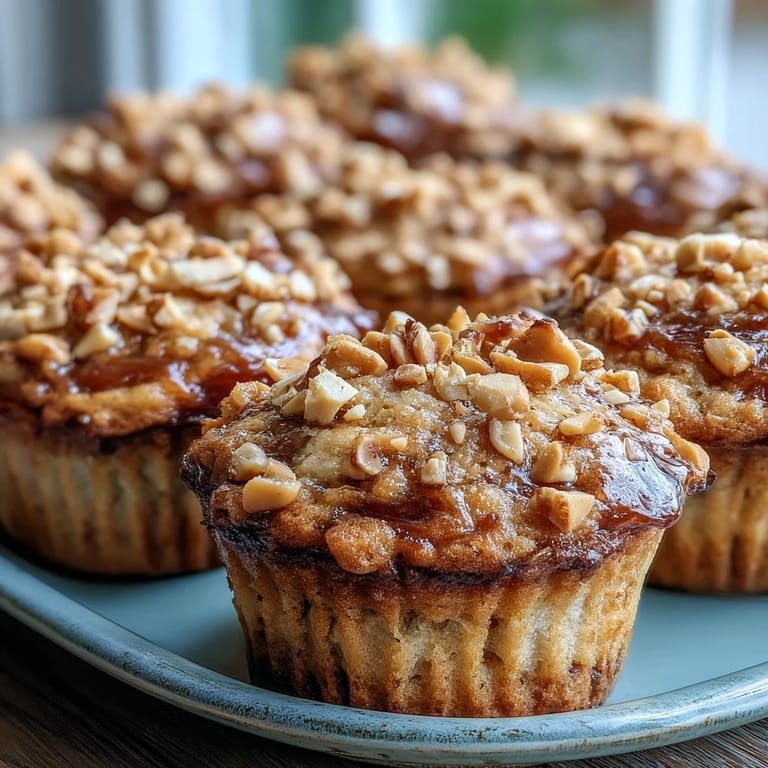
Save My neighbor knocked on the door one Saturday morning with a jar of homemade guava preserves and a sheepish grin, explaining she'd made too much and thought I might want it. I opened that jar and the smell transported me straight back to childhood lunchboxes, except this time I was thinking like an adult baker. What if I took that nostalgic peanut butter and jelly comfort and baked it into something that could sit on a plate with coffee? These muffins were born from that simple idea, and they've become the kind of treat that disappears faster than you'd expect.
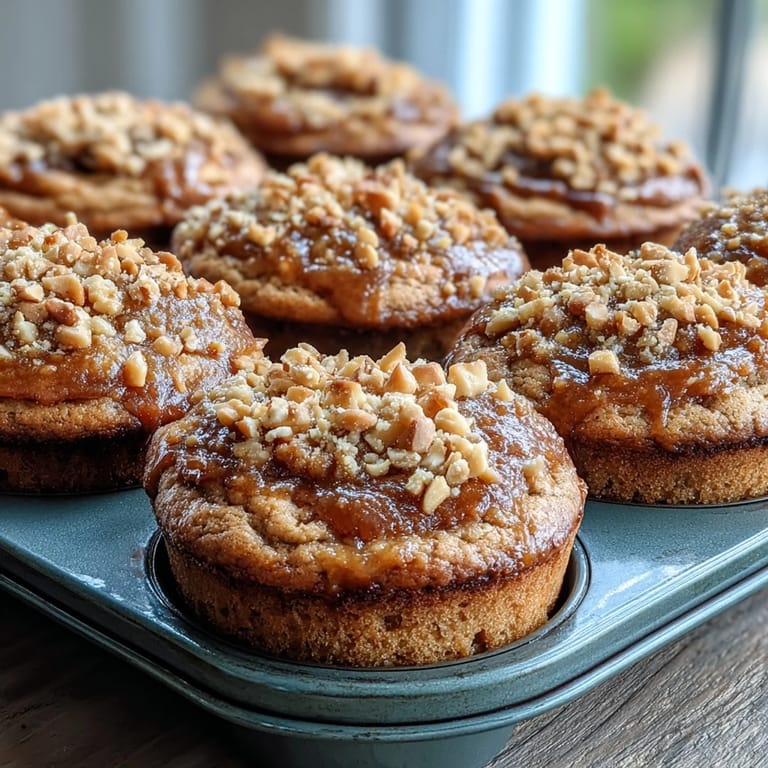
I brought a batch to my book club once, and someone asked if they were from a bakery because they were so tender and well-risen. That moment of confusion made my night, honestly. There's something satisfying about serving homemade muffins that look and taste like they took real effort, even though the actual work is straightforward.
Ingredients
- All-purpose flour (2 cups): The foundation that keeps these muffins tender without being heavy, and 2 cups is the right amount for a proper, bakery-style crumb.
- Baking powder and baking soda (1 tsp and 1/2 tsp): This combination gives lift without the metallic aftertaste, creating muffins that rise properly in the first few minutes of baking.
- Salt (1/4 tsp): Even if you don't think you notice it, salt wakes up the peanut butter and prevents the sweetness from becoming one-dimensional.
- Creamy peanut butter (1/2 cup): Don't use natural peanut butter here because the oil separation gets messy; stick with the conventional kind that stays emulsified.
- Melted unsalted butter (1/2 cup): Melted butter makes the batter silky and ensures even distribution, plus it prevents these from becoming dense or greasy.
- Granulated sugar (1 cup): This is your sweetness and moisture, so don't skimp or substitute with honey without adjusting the milk ratio.
- Large eggs (2): They bind everything and add structure; room temperature eggs mix in more smoothly than cold ones straight from the fridge.
- Whole milk (1 cup): The dairy keeps these muffins tender and moist, making them taste richer than the ingredient list suggests.
- Vanilla extract (1 tsp): A small amount that rounds out the flavor and prevents the peanut butter from tasting one-note.
- Guava preserves (2/3 cup): The heart of these muffins, so choose one you'd actually eat on toast because that's what your taste buds will experience.
- Roasted peanuts, chopped (1/4 cup, optional): These add crunch and a visual reminder of what's inside, plus they toast slightly during baking.
Tired of Takeout? 🥡
Get 10 meals you can make faster than delivery arrives. Seriously.
One email. No spam. Unsubscribe anytime.
Instructions
- Get your oven ready:
- Preheat to 350°F and line your muffin tin with paper liners so the muffins release cleanly without sticking to the edges. This temperature is precise because it allows the muffins to bake through without browning too much on top.
- Combine the dry team:
- In a medium bowl, whisk together flour, baking powder, baking soda, and salt until the leavening agents are evenly distributed. This prevents pockets of unrisen muffin batter.
- Build the wet foundation:
- Beat together peanut butter, melted butter, and sugar until creamy and smooth, which takes maybe a minute with a mixer. The mixture should look like damp sand before you add anything else.
- Add the eggs and dairy:
- Mix in eggs one at a time, waiting after each until it's fully incorporated so the batter stays emulsified. Then stir in milk and vanilla until you can't see streaks anymore.
- Bring it all together gently:
- Fold the dry mixture into the wet mixture with a spatula, stopping as soon as you see no white flour streaks. Overmixing develops gluten and makes muffins tough and dense, which defeats the whole point.
- Fill with intention:
- Fill each muffin cup halfway, add a generous teaspoon of guava preserves to the center, then cover with the remaining batter. The guava will sink slightly, which is exactly what you want.
- Optional finishing touch:
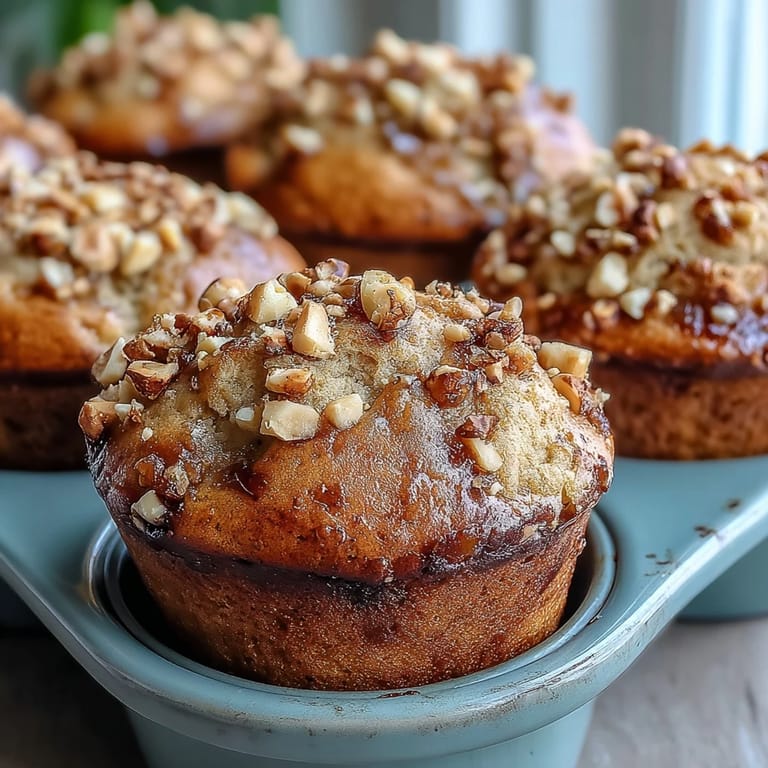
- Sprinkle chopped peanuts on top if you're using them; they'll add texture and a little crunch.
- Bake until golden:
- Bake for 20 to 22 minutes, checking by inserting a toothpick into the edge rather than the center so you don't hit the guava pocket. The tops should be light golden and the edges should pull slightly from the tin.
- Cool with patience:
- Let them rest in the pan for 5 minutes so they set slightly, then transfer to a wire rack to cool all the way through. This prevents condensation from making them soggy.
 Save
Save These muffins showed up at a neighbor's door warm and in a box with a handwritten label, and somehow that simple gesture meant more than I expected. Baking for people you care about, even casually, is a quiet way of saying you're thinking of them.
Flavor Variations Worth Trying
The guava and peanut butter pairing is memorable, but once you understand how this recipe works, you can swap the preserves for strawberry, raspberry, or even a good apricot jam without changing anything else. I've made these with spicy pepper jelly as a quirky afternoon snack, and the heat against the creamy peanut butter is genuinely addictive. The framework stays the same, so you're really just exploring what filling makes you happiest.
Storage and Make-Ahead Strategy
These muffins keep beautifully in an airtight container at room temperature for three days, staying moist and tender the whole time. If you want to bake them ahead, you can freeze the cooled muffins in a freezer bag for up to two months, and they thaw at room temperature in about an hour without any noticeable loss of texture or flavor.
Small Tricks That Make the Difference
I've learned that measuring your peanut butter by weight instead of by cup makes these more consistent from batch to batch, because peanut butter compresses differently depending on how firmly you pack it. A little extra peanut butter swirled on top before baking creates a fudgy layer that catches the heat and becomes almost caramelized. One more thing I discovered: letting the melted butter cool for just a minute or two before mixing prevents the eggs from scrambling, which would create an unpleasant texture you can't fix.
- If your guava preserves are very thick, loosen them slightly with a fork so they spread evenly into the center of each muffin.
- Don't open the oven door during baking, as the temperature drop can cause the muffins to collapse in the middle.
- These taste even better the next day because the flavors meld and the texture becomes even more tender overnight.
 Save
Save These muffins have become my proof that simple, straightforward baking can taste like something special without requiring fancy ingredients or complicated techniques. There's real joy in sharing something warm from your oven with someone you care about.
Questions & Answers
- → Can I use a different fruit preserve?
Absolutely. While guava preserves provide a unique tropical twist, you can substitute with strawberry, raspberry, or grape jam for a classic PB&J flavor profile.
- → How should I store these muffins?
Store in an airtight container at room temperature for up to 3 days. For longer storage, wrap individually and freeze for up to 2 months.
- → Can I make these gluten-free?
Yes, substitute the all-purpose flour with a 1-to-1 gluten-free flour blend. Ensure your baking powder and other ingredients are certified gluten-free.
- → Why insert the toothpick into the edge not the center?
The center contains the guava filling which will remain moist and sticky. Testing the edge ensures the actual batter is fully baked without getting a false reading from the preserves.
- → Can I use natural peanut butter?
Natural peanut butter works, but the texture may be slightly denser. Creamy commercial peanut butter with added oils creates a lighter, more tender crumb.