 Save
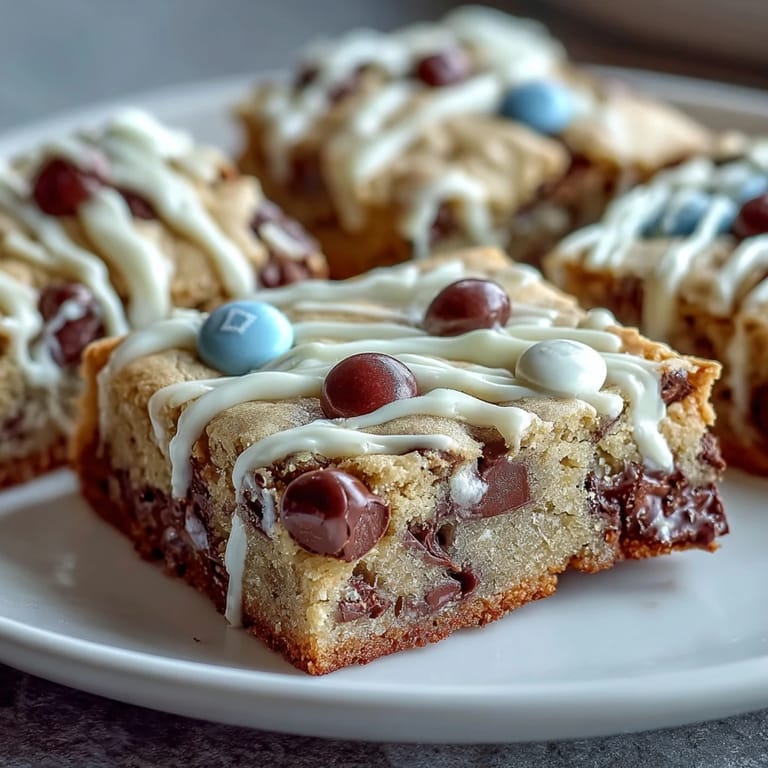
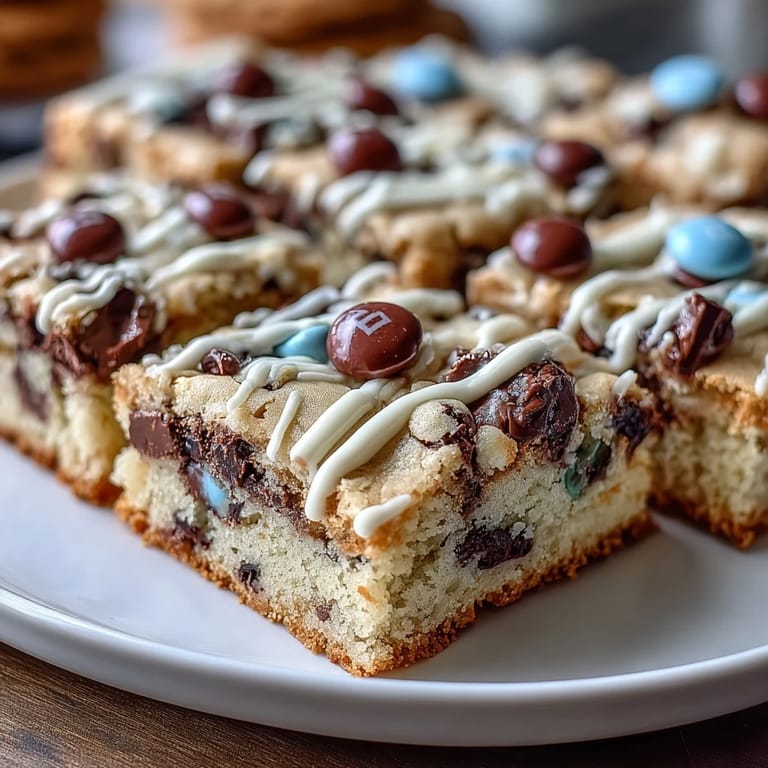
Save My sister called me three weeks before her graduation asking if I could make something special for her party, and my brain immediately went to these cookie bars. There's something about baking for a milestone that makes you want to create something that feels both celebratory and approachable, and these bars hit that sweet spot perfectly. They're soft, chewy, loaded with chocolate, and honestly, they disappear faster than you'd expect at any gathering. I've made them dozens of times now, and each batch still feels a little bit like marking something important.
I made these for the first time at my kitchen table on a Wednesday afternoon when my hands were still sticky from handling cookie dough, and my friend Sarah walked in asking what smelled like heaven. She stayed for three hours, and we ended up decorating the bars with every color sprinkle we could find while laughing about our own graduation day disasters. Watching someone's face light up when they bite into a bar you made yourself—that moment right there is why I keep coming back to this recipe.
Ingredients
- All-purpose flour: Two and a quarter cups gives you structure without making the bars tough; the key is not to overmix once you add it.
- Baking soda: One teaspoon helps these bars rise just enough to get that chewy-fudgy texture rather than dense and brick-like.
- Salt: Half a teaspoon balances the sweetness and makes the chocolate flavors pop in a way that's hard to explain until you taste it.
- Unsalted butter: One cup melted and cooled slightly keeps the dough workable and gives you richness without greasiness.
- Brown sugar and granulated sugar: The combination of one cup brown and half cup granulated creates that perfect chewy-crispy edge contrast.
- Eggs and vanilla extract: Two eggs and two teaspoons of vanilla bind everything together and add a subtle depth that makes people ask for your recipe.
- Semi-sweet chocolate chips: One cup is your base flavor, but don't skip them or substitute with something cheaper—quality chocolate makes the difference here.
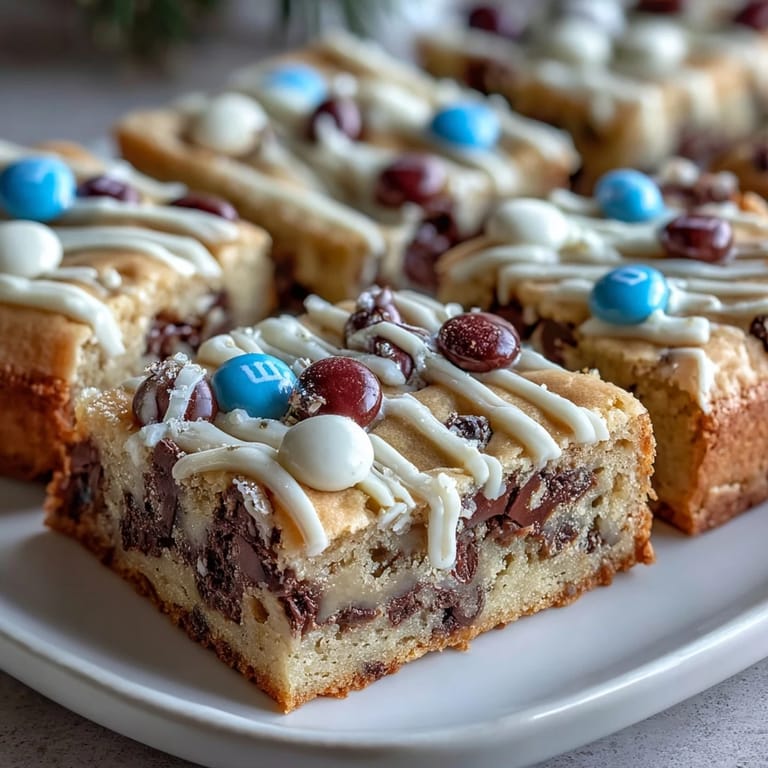
- Colored candy-coated chocolates: Half a cup (think M&Ms in your school colors) adds both color and pockets of extra sweetness and fun.
- White chocolate: Four ounces chopped or in chips creates that showstopping drizzle, and the teaspoon of vegetable oil helps it melt smoothly without seizing.
Tired of Takeout? 🥡
Get 10 meals you can make faster than delivery arrives. Seriously.
One email. No spam. Unsubscribe anytime.
Instructions
- Set up your stage:
- Preheat your oven to 350°F and line your 9x13-inch pan with parchment paper, leaving some overhang so you can pull the whole batch out later. This takes one minute and saves you from having to scrape melted chocolate off your pan.
- Combine the dry ingredients:
- Whisk together your flour, baking soda, and salt in a medium bowl, then set it aside. This step prevents lumps and ensures your leavening agents are evenly distributed.
- Mix the wet base:
- In a large bowl, whisk together your slightly cooled melted butter, brown sugar, and granulated sugar until it looks smooth and a little bit shiny. Add your eggs and vanilla and mix until everything is well combined.
- Bring it together gently:
- Fold the dry ingredients into the wet mixture slowly, stirring just until you don't see streaks of flour anymore. This is where patience matters—overmixing develops gluten and makes bars tough instead of tender.
- Add your celebration:
- Stir in your chocolate chips and colored candies until they're distributed throughout the dough, which takes less than a minute and makes the mixture look festive already.
- Spread and bake:
- Pour the dough into your prepared pan and spread it evenly into the corners using a spatula. Bake for 23 to 25 minutes, watching until the edges turn lightly golden but the center still looks slightly underdone—that's when you know they'll be chewy.
- Cool with patience:
- Let the bars cool completely in the pan on a wire rack before doing anything else. This gives them time to set up so they hold their shape when you cut them.
- Create the drizzle magic:
- Melt your white chocolate with the vegetable oil in a microwave-safe bowl in 20-second increments, stirring between each burst so it stays silky instead of seized. Once smooth, drizzle it over the cooled bars using a spoon or piping bag in whatever pattern feels right.
- Add the finishing touch:
- If you're using sprinkles, add them while the white chocolate is still slightly warm so they stick. Let everything set for at least 30 minutes before cutting into squares.
 Save
Save There's a moment after you pull these bars from the oven when the whole kitchen smells like brown butter and chocolate, and you can hear the edges crackling slightly as they cool. My nephew once sneaked a corner piece before it was fully set and burned the roof of his mouth, but he came back for another one anyway, which tells you everything you need to know about how irresistible these are.
Making Them Your Own
These bars are incredibly flexible, which is part of why they've become my go-to celebration dessert. Swap out the semi-sweet chocolate for dark chocolate or milk chocolate depending on your mood, or use peanut butter chips if you're feeling adventurous. The colored candies are really just an excuse to make them look special, so feel free to switch them out or even skip them entirely if you prefer a more uniform appearance.
Storage and Make-Ahead Strategy
I've found that these bars actually taste even better the next day once the flavors have settled, so making them a day or two ahead of your party is totally smart. They keep in an airtight container at room temperature for up to four days without getting stale, though honestly, they rarely last that long around my house. If you need to make them further in advance, you can bake and cool them, then store them without the white chocolate drizzle for up to a week, adding the drizzle the morning of your event.
The Details That Matter
Temperature control is your friend here—if your butter is too hot when you add the eggs, you'll end up with scrambled eggs instead of a smooth dough, so let it cool for a couple of minutes first. The texture of these bars walks a fine line between cake-like and fudgy, and that happens because you bake them just until the edges are set but the center is still soft. That toothpick test is your guide; if it comes out with a little bit of batter clinging to it, you're in the perfect window.
- Use parchment paper with overhang so you can lift the entire batch out as one piece before cutting, which makes clean squares possible.
- If your white chocolate is being stubborn and seems grainy, start over with fresh chocolate rather than trying to salvage it.
- Cut the bars with a sharp knife that you dip in hot water and wipe clean between cuts for the cleanest edges.
 Save
Save These bars have become my answer to almost any celebration, and I think that's because they feel special without requiring you to be a skilled baker. They're proof that sometimes the simplest recipes, made with a little care and a whole lot of intention, are exactly what people need to remember a moment.
Questions & Answers
- → What makes these bars chewy?
The blend of melted butter, brown sugar, and eggs creates a moist, chewy texture that holds the mix-ins perfectly.
- → Can I substitute candy colors for a different theme?
Yes, using candy-coated chocolates or sprinkles in desired colors allows easy customization for any occasion.
- → How should the white chocolate drizzle be prepared?
Melt the white chocolate with vegetable oil in short bursts and stir until smooth before drizzling over cooled bars.
- → What is the best pan size for baking?
A 9x13-inch baking pan lined with parchment paper ensures even baking and easy removal.
- → How long can these bars be stored?
Store in an airtight container at room temperature for up to 4 days to maintain freshness.